
Pi-hole is a free, open-source, self-hosted DNS sinkhole that protects your devices from unwanted content by blocking ads and trackers at the network level. This blog post will guide you through the needed steps for configuring your own Pi-hole instance using either Docker or Kubernetes.
I've already covered the manual installation over a Raspberry Pi using their script on this post, check that one out if that's your goal!
Tested with
- Single host or Raspberry Pi.
- Docker / Docker Compose or K3s.
Prerequisites
- A host to run the service (server, VM or Pi).
- Docker (with docker-compose) or a Kubernetes cluster (K3s, microk8s, etc.).
- Static IP address recommended for your DNS server.
- Preferably have access to your ISP's router for DHCP configuration.
Quick notes
- The app uses port 53 for DNS (TCP/UDP), port 80 for HTTP web interface, and port 443 for HTTPS. Considering this, the examples below expose the following ports. Change those to fit your network:
- Interface: Port 80/443 (Docker) or NodePort 31080/31443 (Kubernetes).
- DNS: Port 53 (Docker) or NodePort 31053 (Kubernetes).
- Set a secure password via
FTLCONF_webserver_api_passwordenvironment variable. - If you run multiple services on one node, prefer an Ingress controller (and TLS) over NodePorts.
Installation
Pi-hole is distributed as a container, so as every container covered in this blog, I'll provide both Docker and Kubernetes options, being Docker the easiest to begin with:
Docker (docker-compose)
If you're using Docker, drop this docker-compose.yml into a folder and run docker compose up -d. Adjust ports, timezone, and password as you like.
version: "3.9"
services:
  pihole:
    container_name: pihole
    image: pihole/pihole:latest
    restart: unless-stopped
    ports:
      # DNS Ports
      - "53:53/tcp"
      - "53:53/udp"
      # Default HTTP Port
      - "80:80/tcp"
      # Default HTTPS Port. FTL will generate a self-signed certificate
      - "443:443/tcp"
      # Uncomment the line below if you are using Pi-hole as your DHCP server
      #- "67:67/udp"
      # Uncomment the line below if you are using Pi-hole as your NTP server
      #- "123:123/udp"
    environment:
      # Set the appropriate timezone for your location (https://en.wikipedia.org/wiki/List_of_tz_database_time_zones)
      TZ: 'Europe/Madrid'
      # Set a password to access the web interface. Not setting one will result in a random password being assigned
      FTLCONF_webserver_api_password:  'correct horse battery staple'
      # If using Docker's default `bridge` network setting the DNS listening mode should be set to 'ALL'
      FTLCONF_dns_listeningMode:  'ALL'
    volumes:
      # For persisting Pi-hole's databases and common configuration file
      - './etc-pihole:/etc/pihole'
    cap_add:
      # See https://github.com/pi-hole/docker-pi-hole#note-on-capabilities
      # Required if you are using Pi-hole as your DHCP server, else not needed
      - NET_ADMIN
      # Required if you are using Pi-hole as your NTP client to be able to set the host's system time
      - SYS_TIME
      # Optional, if Pi-hole should get some more processing time
      - SYS_NICE
Commands:
Useful commands related with the docker compose method:
| Goal | Command |
|---|---|
| Start | docker compose up -d |
| Stop & remove | docker compose down |
| View logs | docker compose logs -f pihole |
| Remove previous docker-run | docker container stop pihole && docker container rm pihole |
Open http://localhost/admin or http://<your_host_ip>/admin to check if it is running.Kubernetes (Deployment + NodePort)
This is a minimal single-node example (works well on K3s). For anything more durable, use a PVC and expose the app via an Ingress. Note that running DNS on Kubernetes can be tricky due to port conflicts with cluster DNS.
Save the Deployment as pihole-deployment.yaml:
apiVersion: apps/v1
kind: Deployment
metadata:
  name: pihole-deployment
  labels:
    app: pihole
spec:
  replicas: 1
  selector:
    matchLabels:
      app: pihole
  template:
    metadata:
      labels:
        app: pihole
    spec:
      containers:
        - name: pihole
          image: pihole/pihole: latest
          imagePullPolicy:  IfNotPresent
          ports:
            - containerPort: 53
              protocol: TCP
              name: dns-tcp
            - containerPort: 53
              protocol: UDP
              name: dns-udp
            - containerPort: 80
              protocol: TCP
              name: http
            - containerPort: 443
              protocol: TCP
              name: https
          env:
            - name: TZ
              value: "Europe/Madrid"
            - name: FTLCONF_webserver_api_password
              value: "insert your password here"
            - name: FTLCONF_dns_listeningMode
              value: "ALL"
          volumeMounts:
            - name:  pihole-data
              mountPath:  /etc/pihole
          resources:
            requests:
              cpu: "100m"
              memory: "256Mi"
            limits:
              cpu: "500m"
              memory: "512Mi"
          securityContext:
            capabilities:
              add:
                - NET_ADMIN
                - SYS_TIME
                - SYS_NICE
      volumes:
        - name: pihole-data
          hostPath:
            path: /data/pihole
            type: DirectoryOrCreate
Save the Service as pihole-service-nodeport.yaml:
apiVersion: v1
kind: Service
metadata:
  name: pihole-service-nodeport
  labels:
    app: pihole
spec:
  type: NodePort
  selector:
    app: pihole
  ports:
    - name: dns-tcp
      protocol:  TCP
      port: 53
      targetPort: 53
      nodePort: 31053
    - name: dns-udp
      protocol: UDP
      port:  53
      targetPort: 53
      nodePort: 31053
    - name: http
      protocol: TCP
      port:  80
      targetPort: 80
      nodePort: 31080
    - name: https
      protocol: TCP
      port:  443
      targetPort: 443
      nodePort: 31443
Apply and check:
kubectl apply -f pihole-deployment.yaml
kubectl apply -f pihole-service-nodeport.yaml

kubectl get pods -l app=pihole
kubectl get svc pihole-service-nodeport
Open: http://<node_ip>:31080/adminNotes:
- Prefer exposing via an Ingress and using cert-manager for TLS rather than NodePort for public-facing services.
- Running Pi-hole on Kubernetes requires careful consideration of DNS port conflicts with your cluster's DNS service (typically CoreDNS).
- For production use, consider using a LoadBalancer service type or MetalLB for proper DNS service exposure.
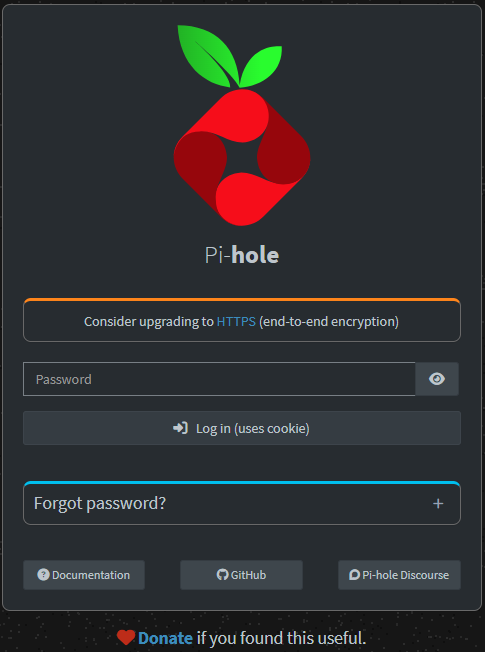
Web Interface Configuration
When opening the admin page, a login is required. Introduce the configured password at the previous steps.
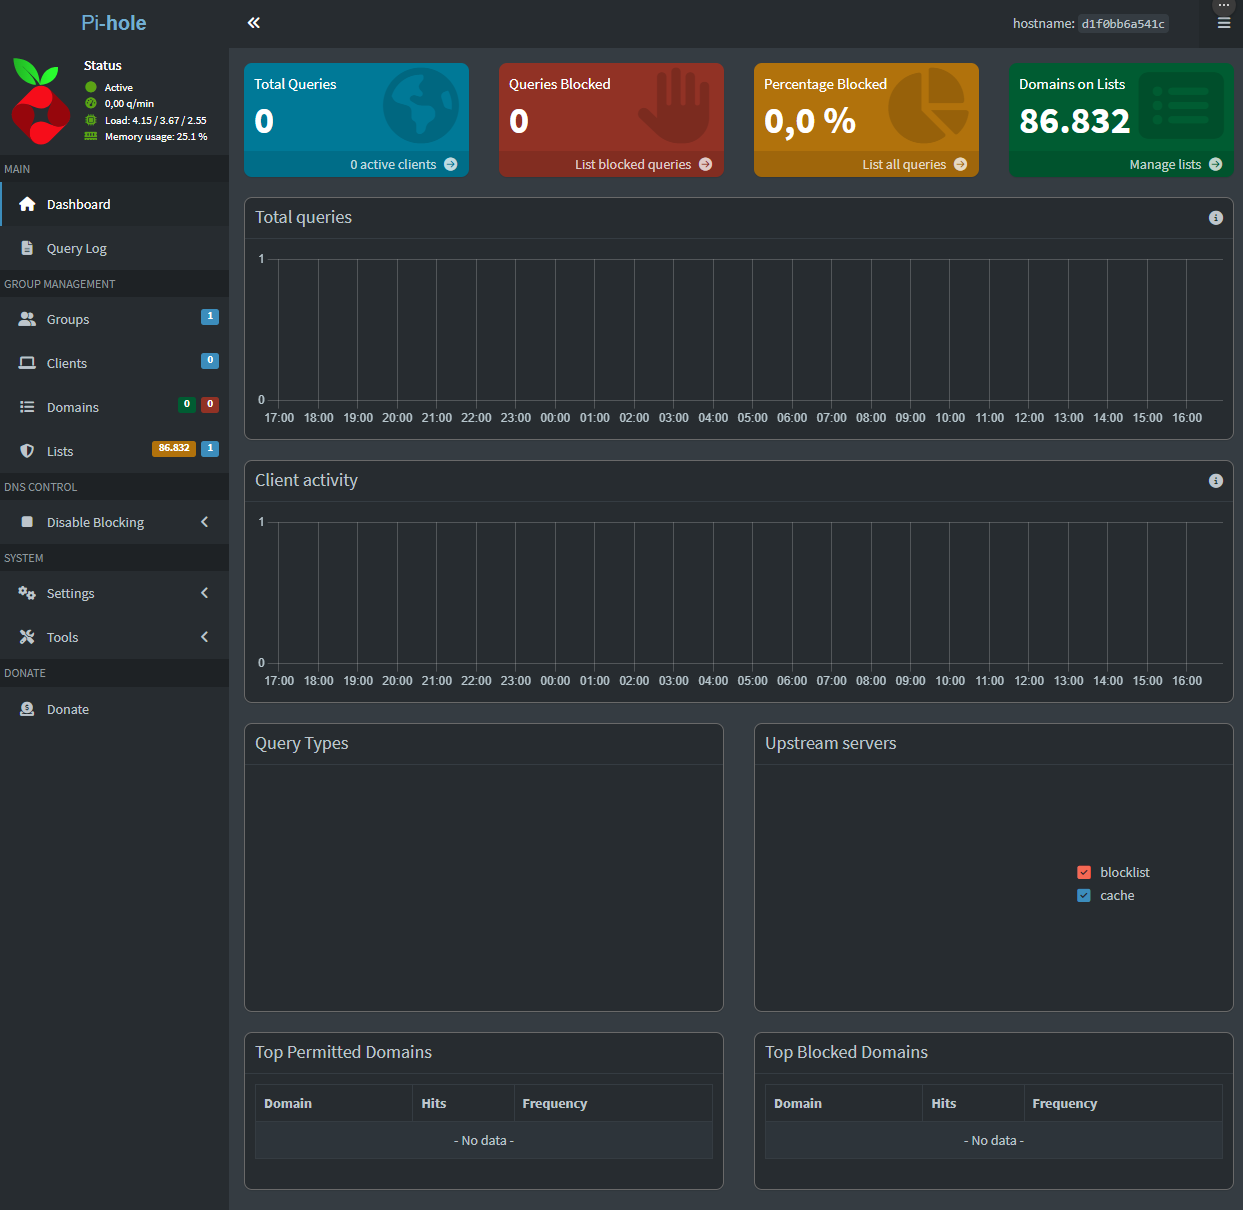
Then, the main page should load, showing a few graphs and stats. Those will be empty at this time.
Here I mainly use two tools. List group management and Local DNS Records.
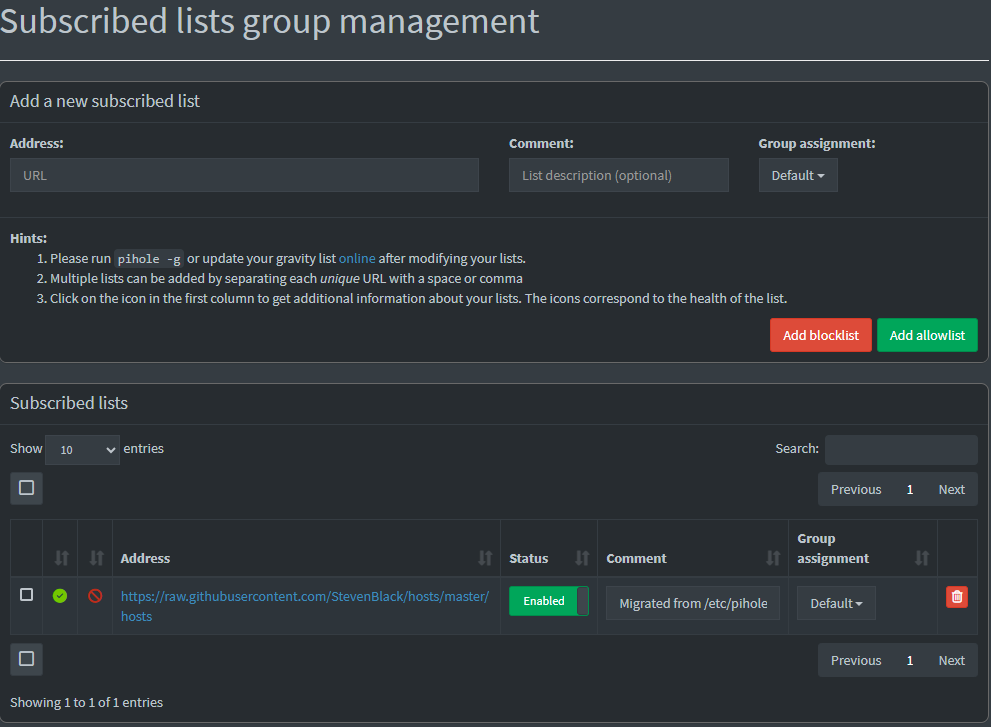
List Group Management
Here you can configure which lists yopu want to use for blocking or allowing. Usually the default one is fine, but you can search for more or even make your own.
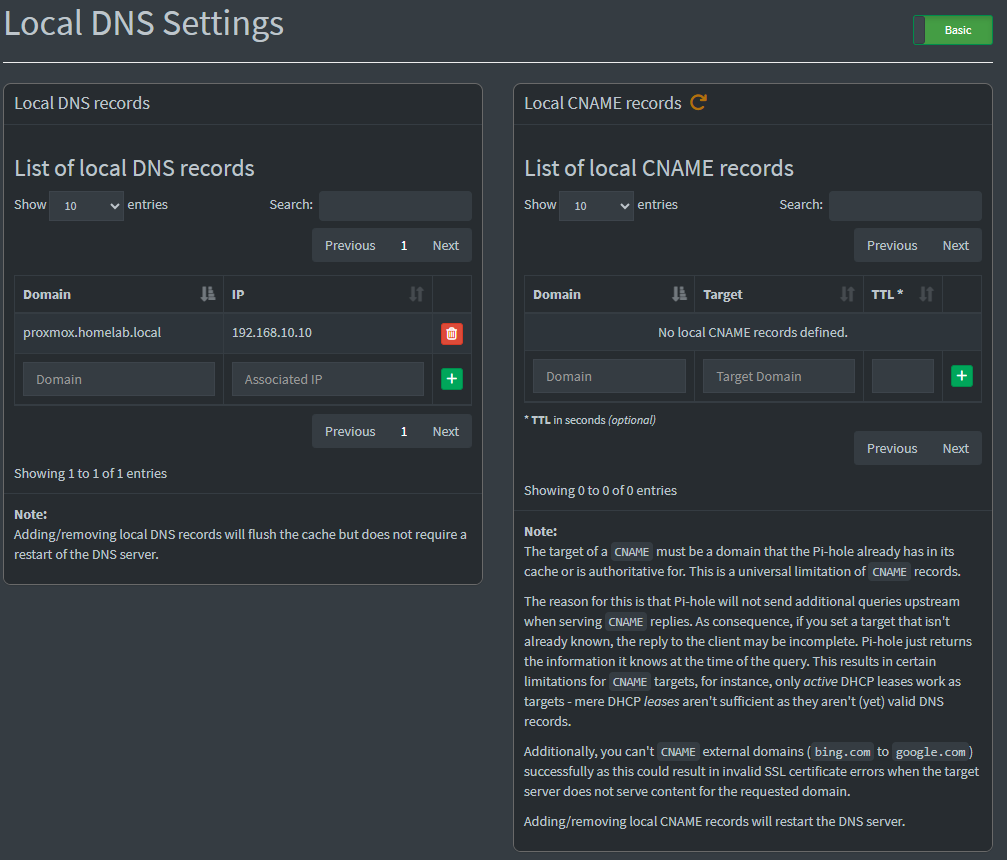
Local DNS Records
With this tool, you can create your own local domains to resolve your servers at your network. For example, I can add proxmox.homelab.local with the IP 192.168.10.10 so if I type it on my browser it resolves to my proxmox IP address and shows the web UI.
There is a bunch more of options, feel free to check them out!
Uninstall / cleanup
Follow these steps if you want to remove Pi-hole:
Docker:
- If you used
docker run:
docker container stop pihole
docker container rm pihole
- If you used
docker compose:
docker compose down
# Remove volumes if you want to delete all data:
# sudo rm -rf ./etc-pihole
Kubernetes:
kubectl delete -f pihole-service-nodeport.yaml -f pihole-deployment.yaml
# Remove any hostPath data if you used it:
# sudo rm -rf /data/pihole
Wrap-up
Pi-hole is a powerful network-wide ad blocker that protects all devices on your network. Start with the Docker installation method if you want the fastest way, or use Kubernetes for robustness. Once configured, you'll need to point your devices or router to use Pi-hole as their DNS server. I hope you found this useful!